

The complete guide
How to Choose and Mount a Wall Wine Rack That Actually Holds Up
The problem with storing wine in a house that has no cellar
Almost nobody has a cellar. What most of us have is a half-shelf in a cupboard, a box on the floor of the laundry, or a row of bottles on the kitchen worktop that gets nudged every time someone reaches for the kettle.
None of that works well. Bottles in a cupboard get buried, so you drink whatever is at the front instead of what you meant to open. Bottles standing upright for months let the cork dry out. Bottles on the floor get kicked. And in a small home, every one of those options eats space you cannot spare.
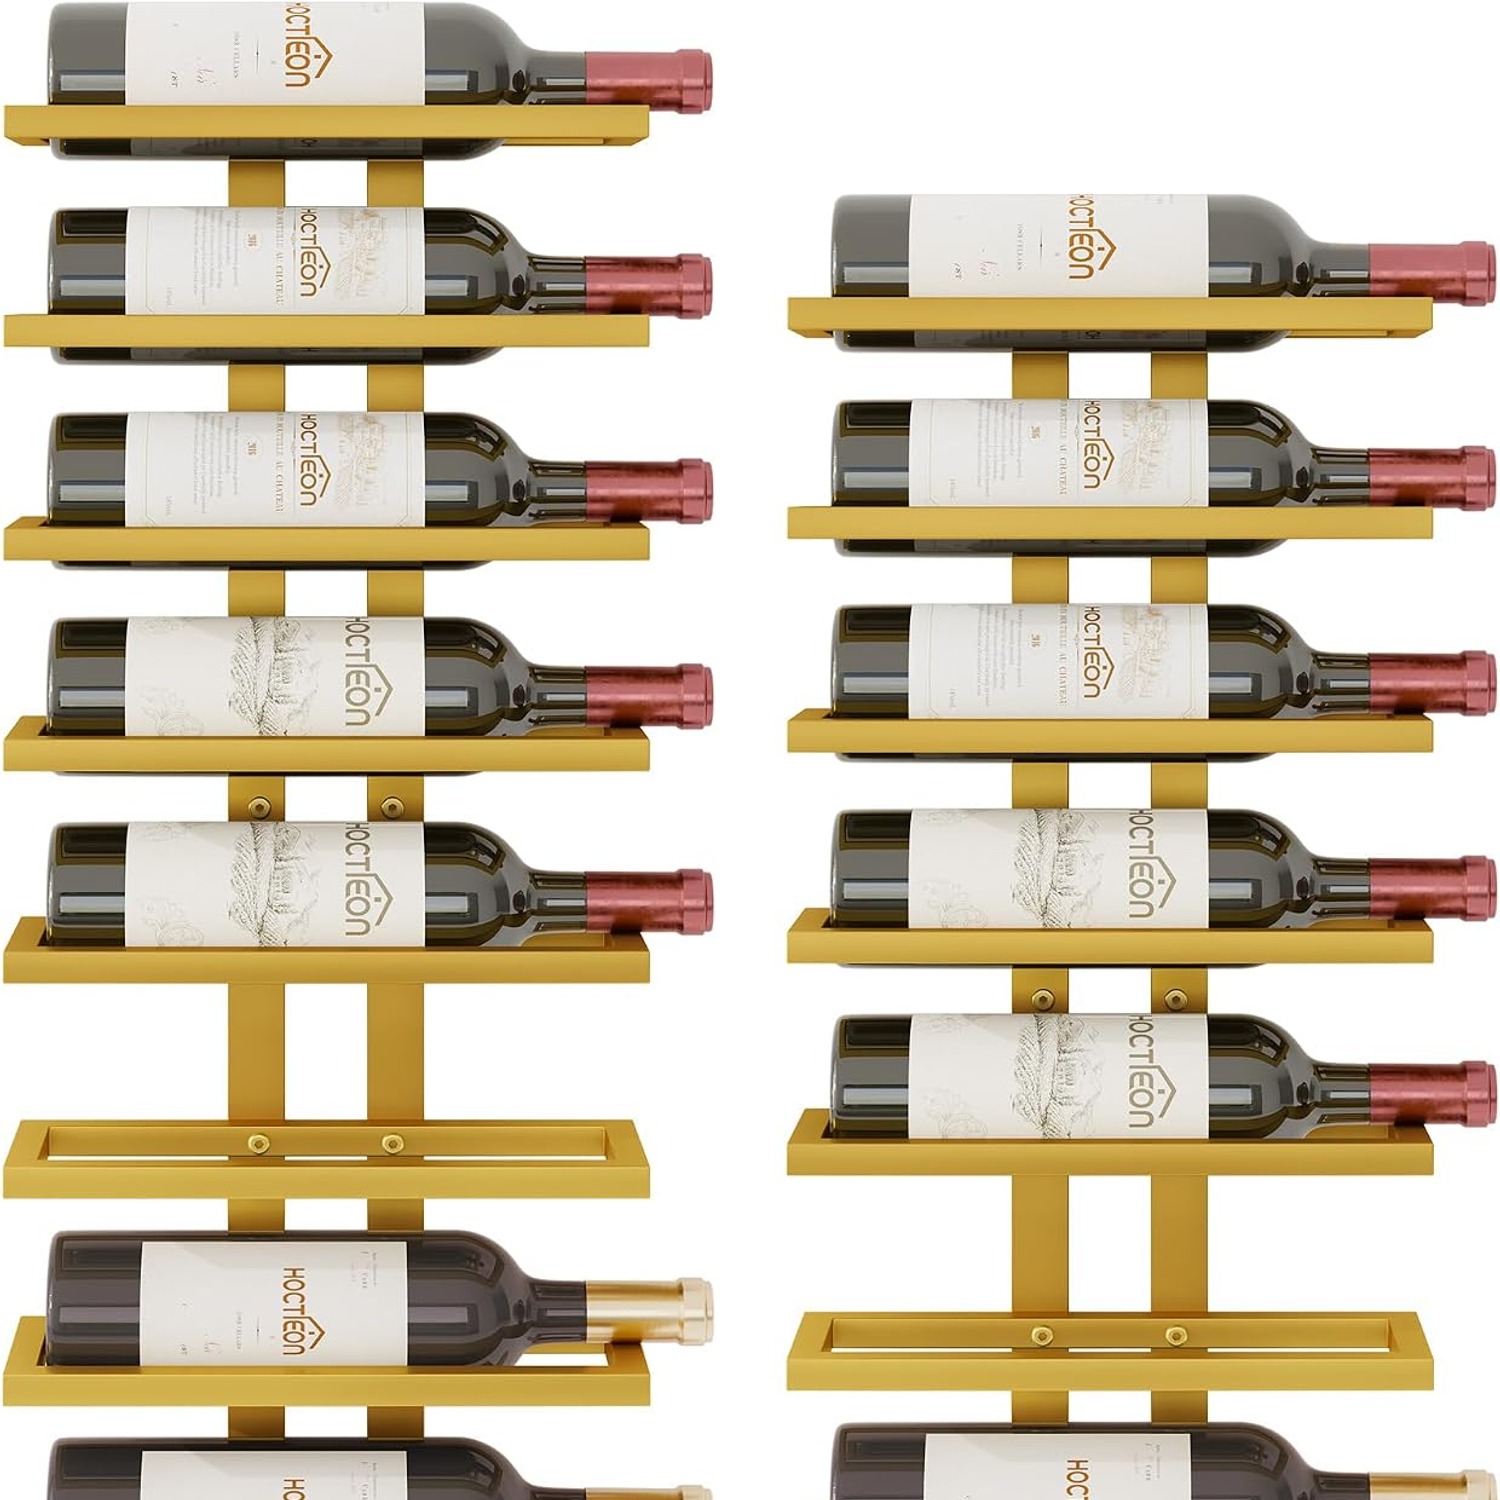
Wall storage solves the awkward parts at once. It lifts bottles off the floor and off the worktop, lays them on their side so corks stay wet, and puts the whole collection where you can see it. A 16 tier wall wine rack set like this one uses a strip of wall about 27.5 cm wide and 10.3 cm deep, which is roughly the footprint of a picture frame, and gets sixteen bottles off your horizontal surfaces.
How a wall mounted wine rack works
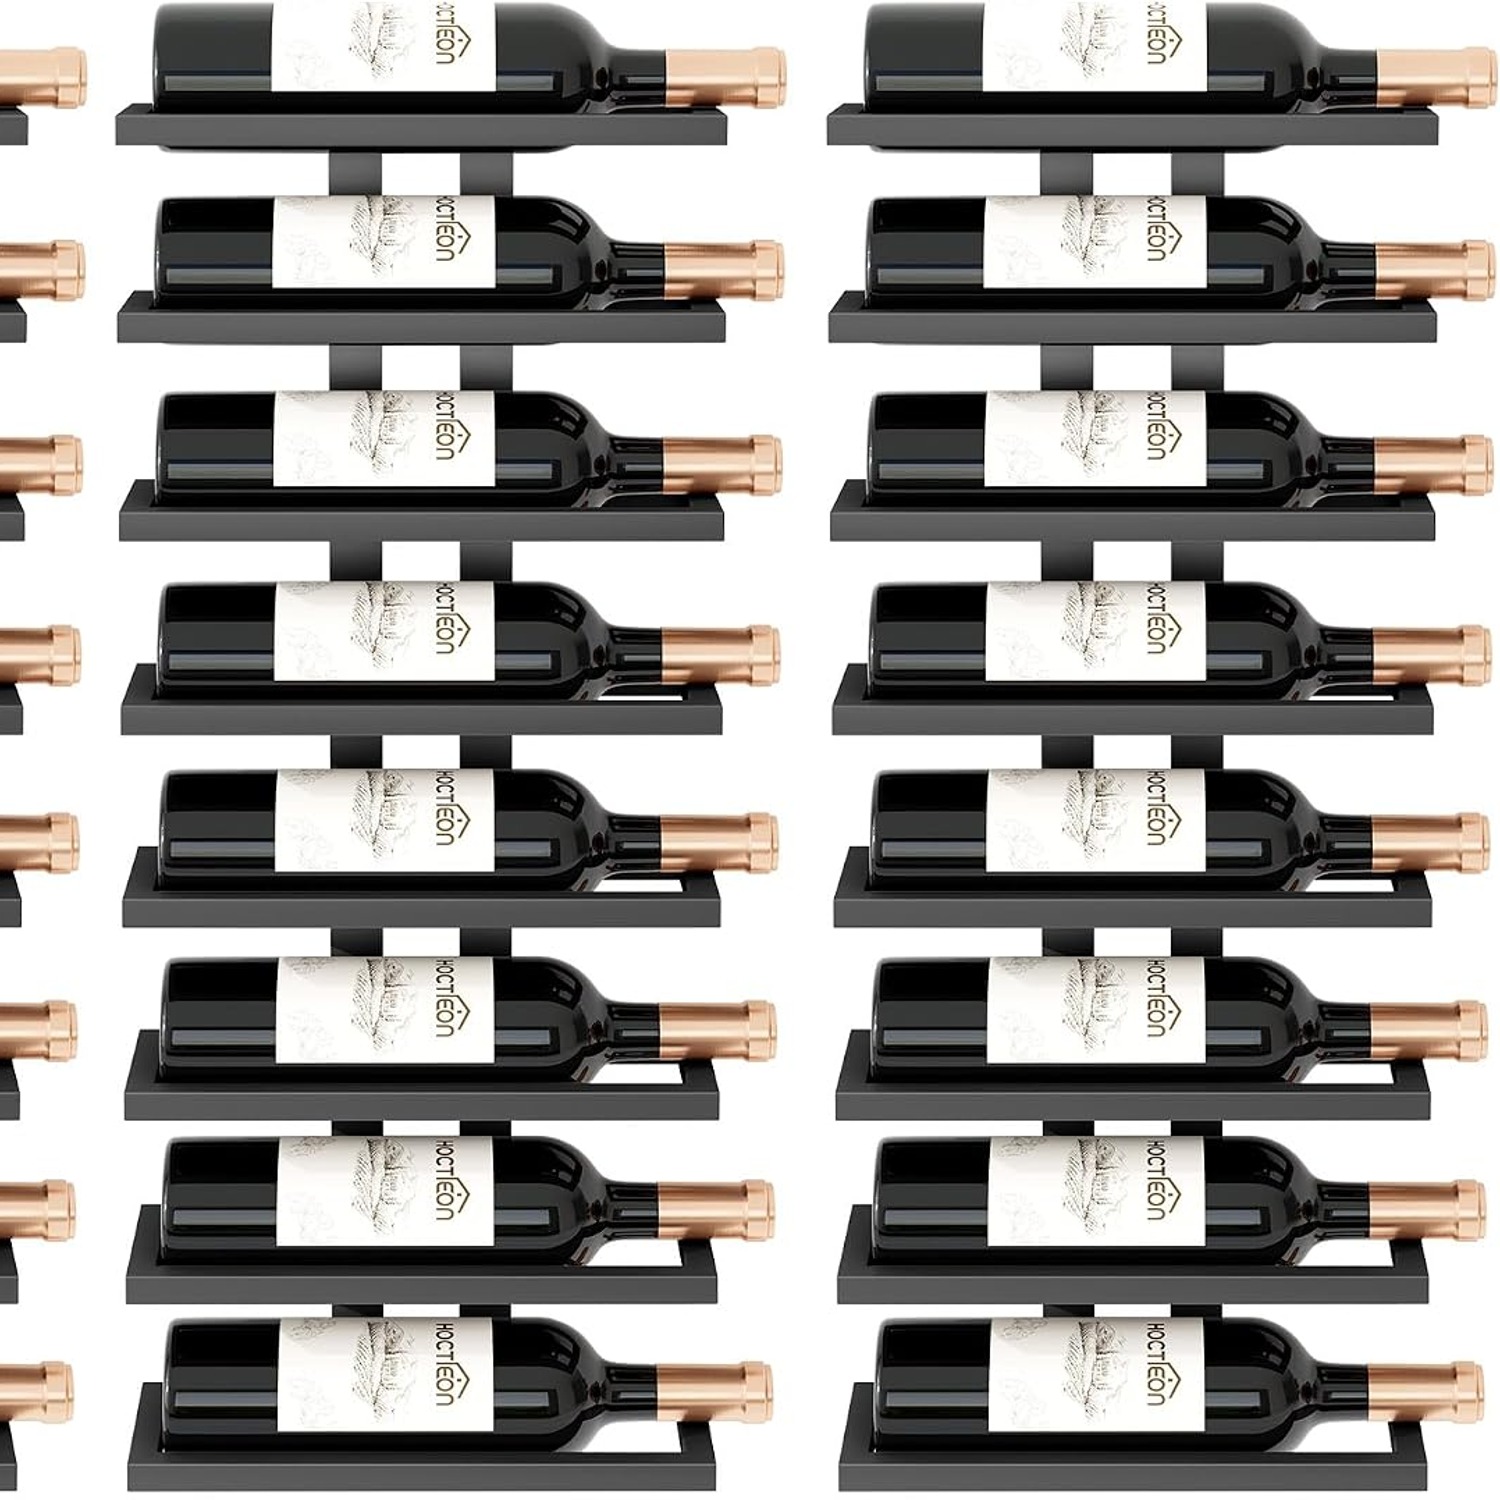
The idea is simple. Each tier is a small metal cradle fixed to a vertical spine. The bottle slides in body first and rests on its side, neck pointing out into the room. Gravity does the rest.
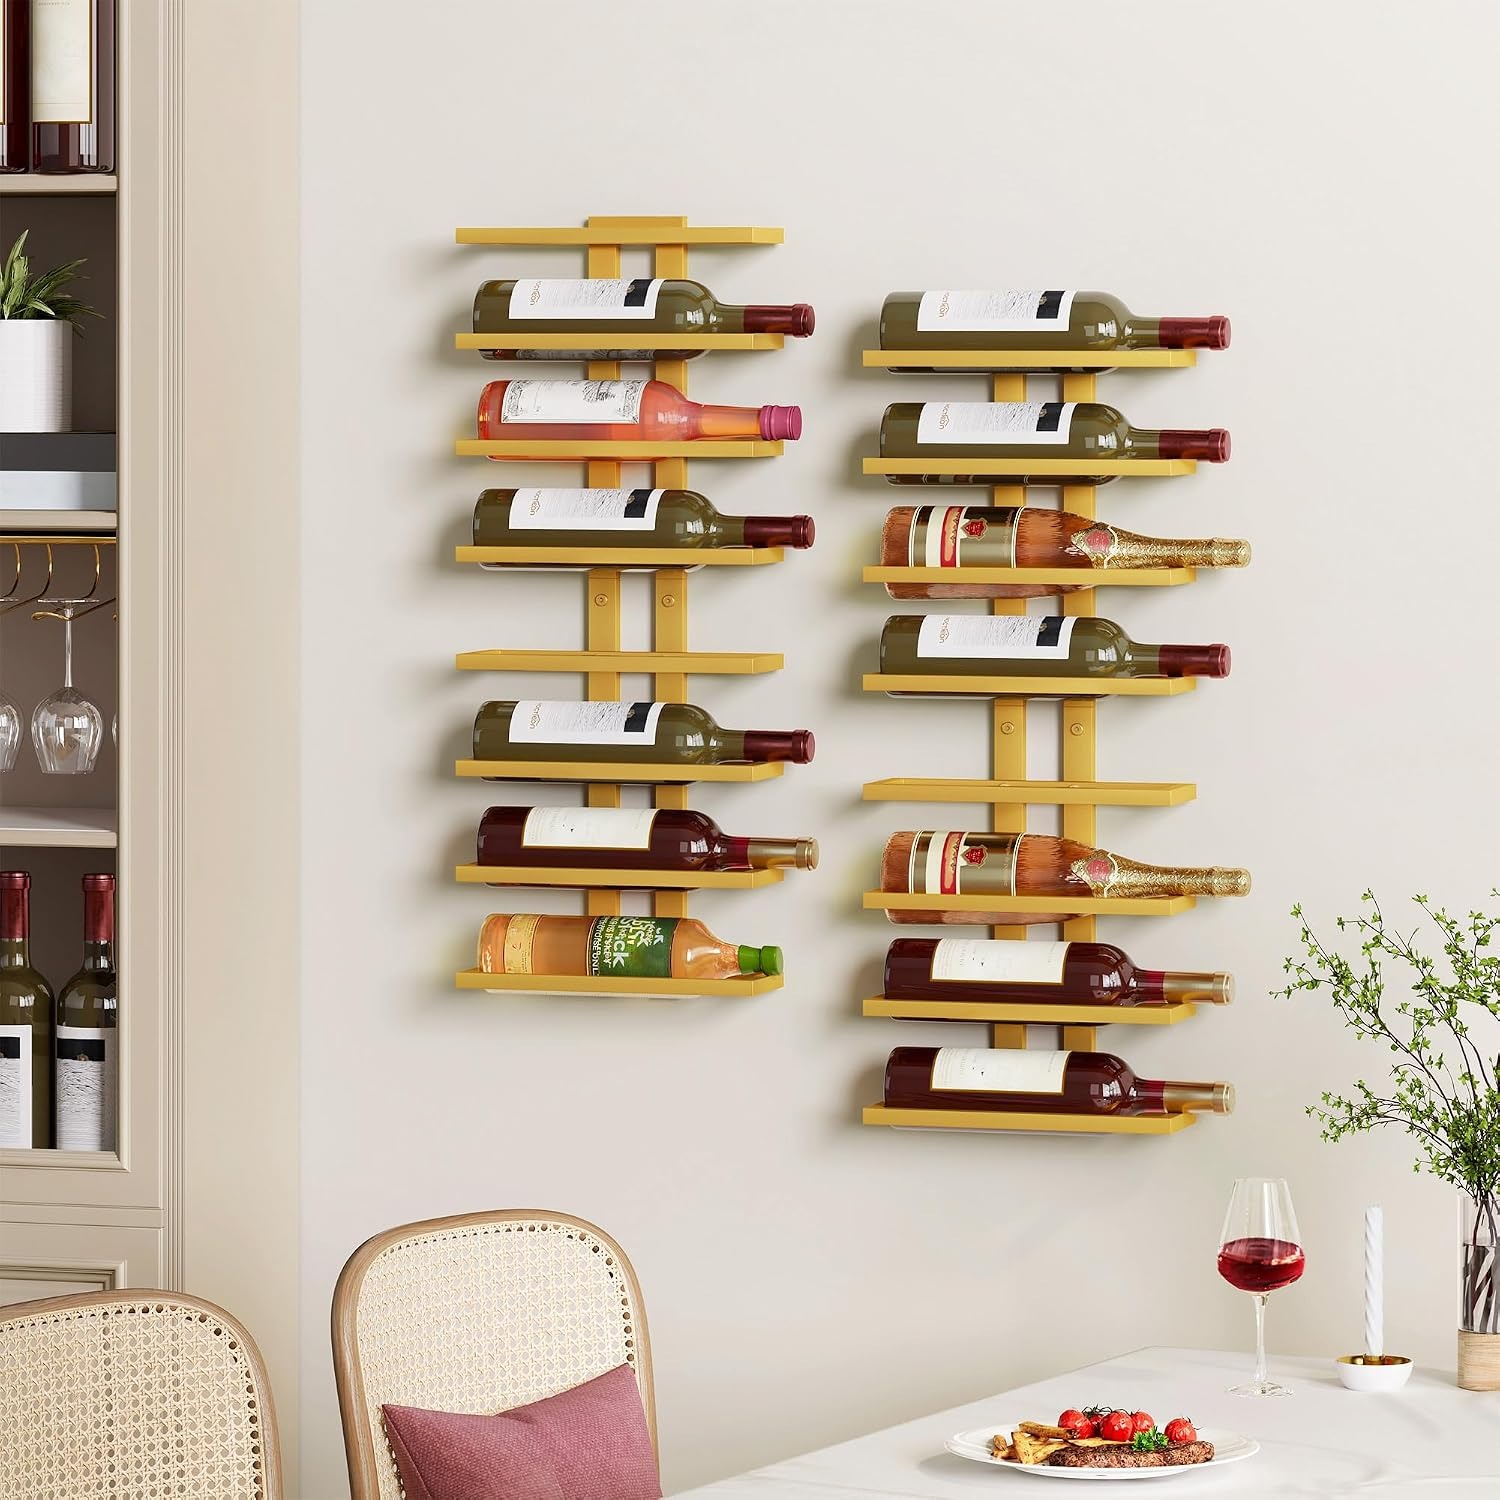
Eight of those tiers stack up a 71.7 cm frame. Two frames in the box gives you sixteen bottles. Because the bottles are horizontal, the wine stays in contact with the cork, which keeps the cork swollen and the seal tight. That is the standard way wine has been stored for a very long time, and it is the main functional reason to use a rack rather than a shelf.
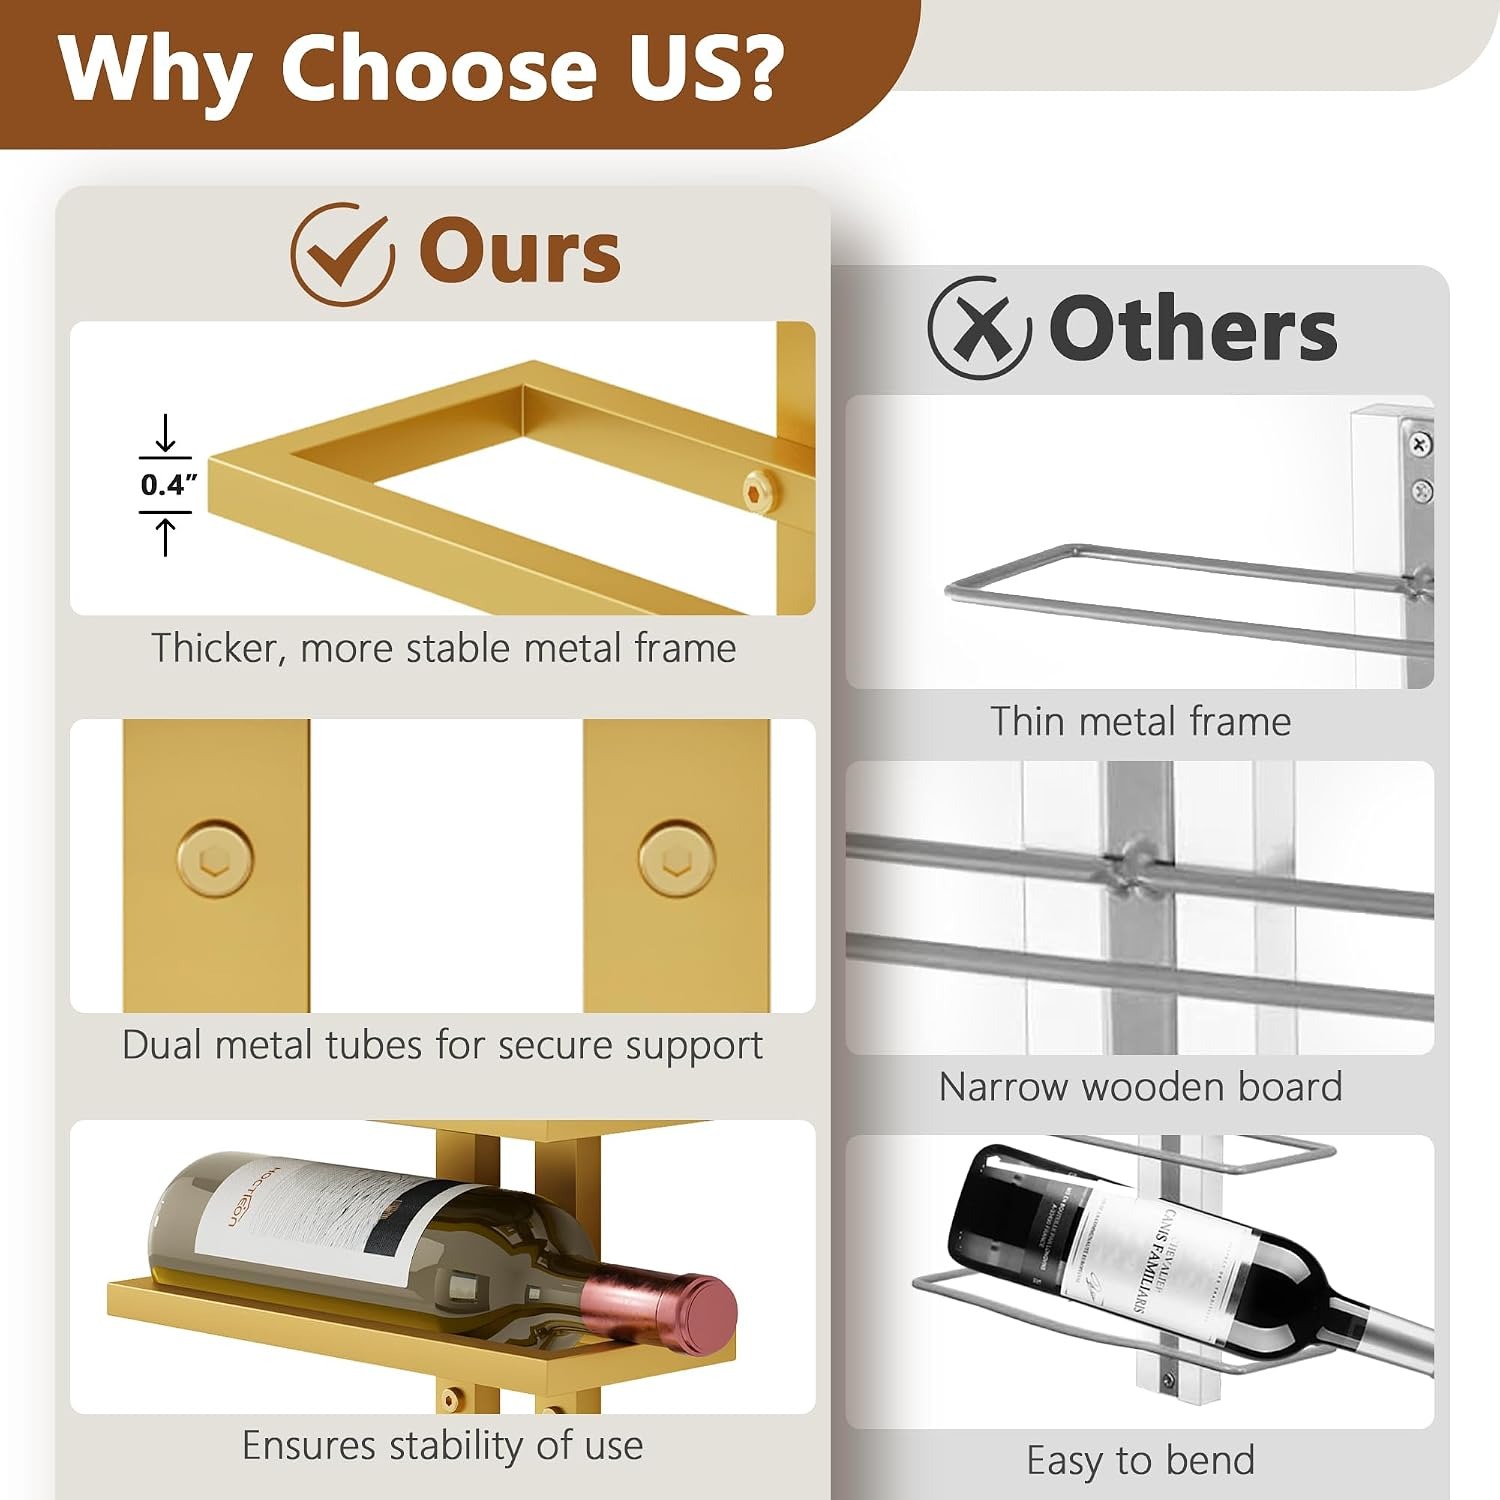
The engineering question is load. A full 750 ml bottle weighs about 1.2 kg. Eight of them is roughly 10 kg hanging off a wall, and all of that weight acts at a distance from the wall surface, which creates use on the fixings. This is why welded metal matters. A welded frame transfers that load through a single rigid structure instead of flexing at every joint. Slot-together racks are cheaper to ship but they work loose, and once a joint has movement in it, the sag only gets worse.
Who this set suits
Apartment dwellers and anyone short on floor space. The 10.3 cm depth is the headline number here. A freestanding wine cabinet eats half a square metre. This takes none.
People who buy a mixed case rather than a single bottle. Sixteen bottles is about the point where a cupboard stops working and you need real organisation. If you are regularly bringing home six at a time, this is the right capacity bracket.
Renters, with a caveat. The racks mount with screws, so you will be putting holes in the wall. Check your lease. Many agreements allow small fixings that you make good on the way out, and patching a handful of screw holes is a twenty minute job.
Anyone who wants the wine on show. Mixed bottle shapes and colours on an open rack look good. That is the whole point of a wine bottle display as opposed to a closed cabinet.
It is less suited to serious long-term cellaring of valuable wine. A kitchen or living room wall sees temperature swings and light, and neither is kind to wine you intend to keep for a decade. For everyday drinking stock and bottles you will open within a year or two, it is ideal.
Choosing the right spot
Start with the wall itself, not the rack.
If you have timber studs, find them. A stud finder costs very little and takes the guesswork out. Fixing into solid timber is by far the strongest option, and it is worth shifting your planned position by 10 cm to land on one.
If you have masonry or brick, you are fine with the right plugs. Match the plug to the screw and drill the hole properly rather than forcing it.
If you have plasterboard with nothing behind it, use proper heavy-duty cavity anchors. Not the little plastic push-in plugs. Toggle or metal expanding anchors, rated well above the loaded weight. This is the single most common mistake people make with any wall mounted wine rack, and it is also the most expensive one, because when a rack comes off a wall it takes the bottles with it.
Then think about height. The top tier is the one you reach for most awkwardly, so put it somewhere around shoulder height. Keep the bottom tier clear of worktops, skirting boards and anything you walk past with a vacuum cleaner. And leave the bottle necks out of walkways so nobody catches a hip on them.
Making the most of two racks
The fact this ships as two separate racks rather than one tall unit is genuinely useful. You are not locked into a single shape.
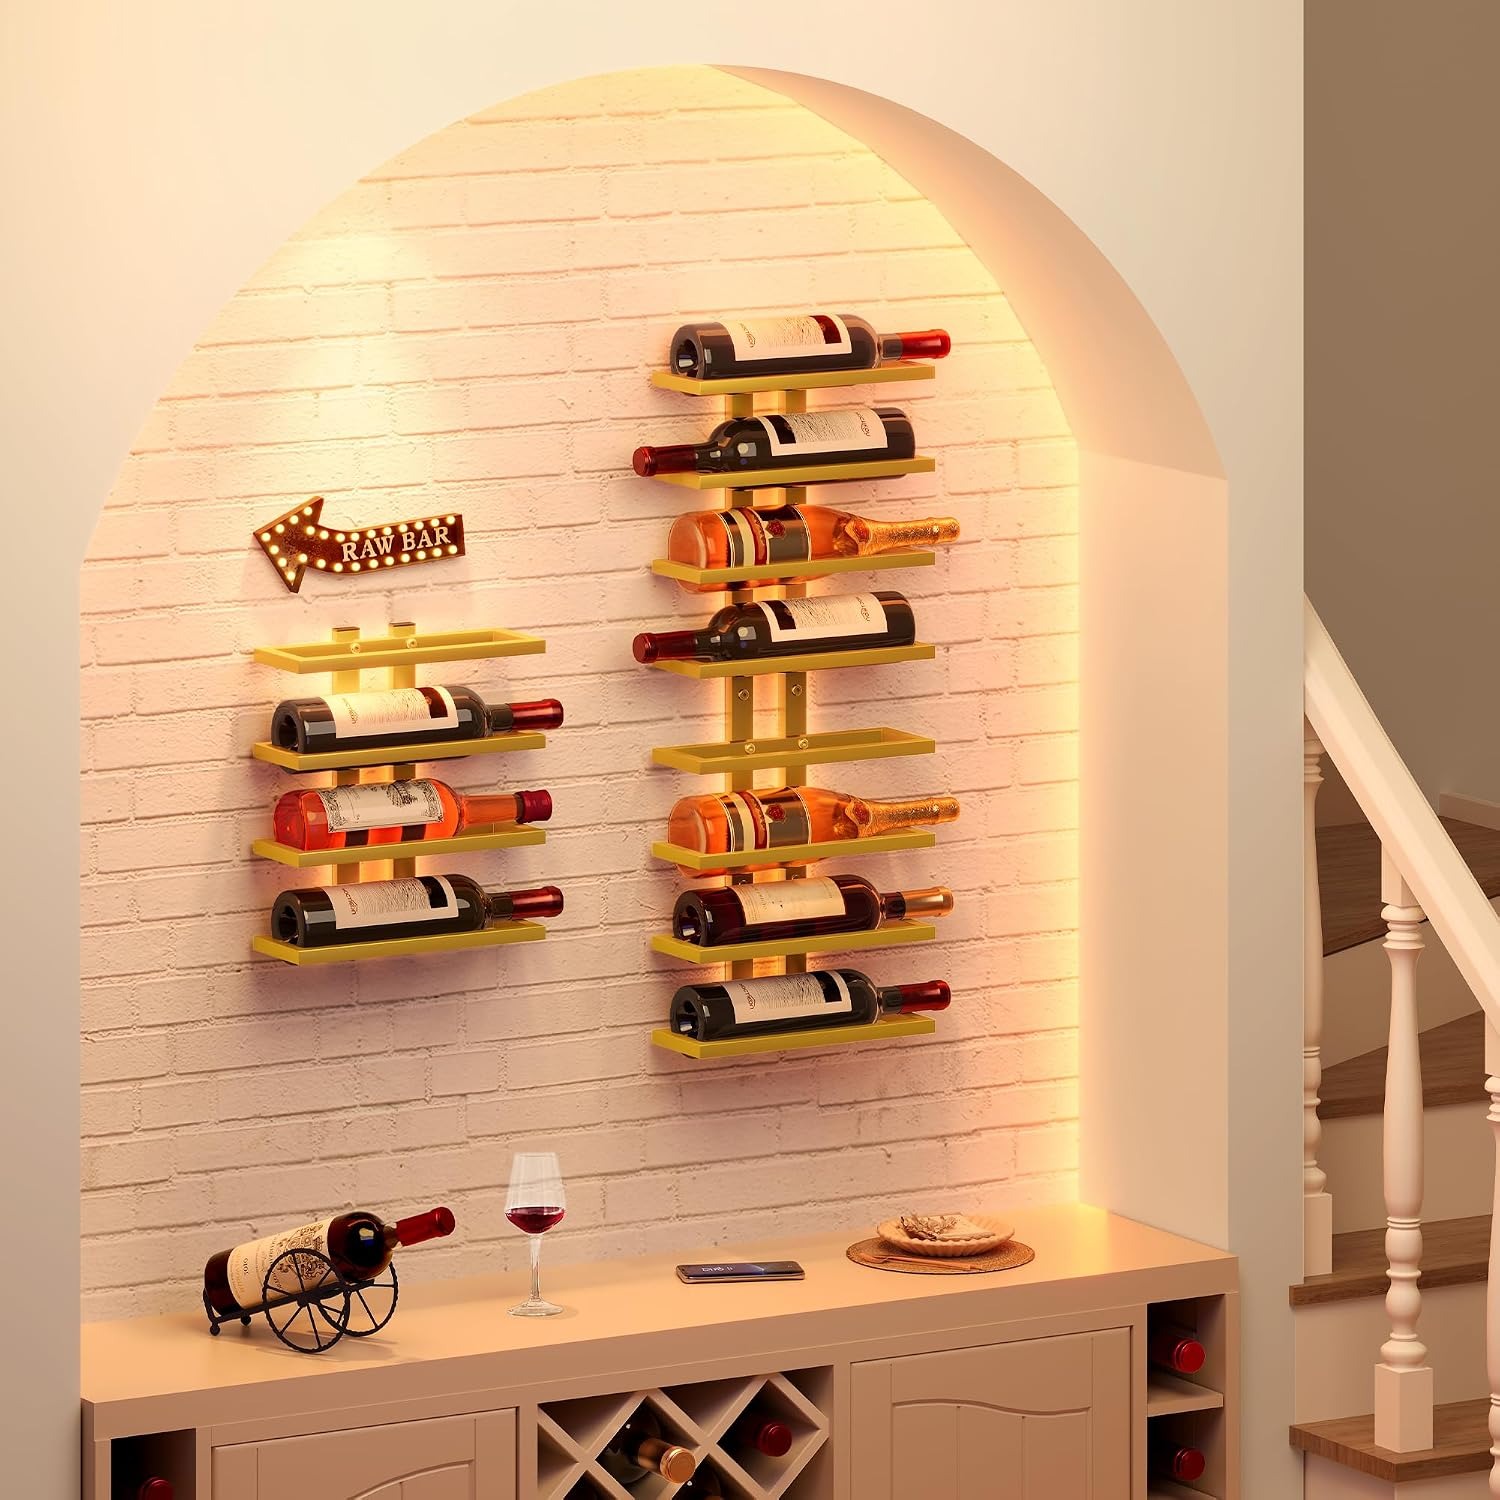
Side by side gives you one solid block of sixteen bottles and the strongest visual impact. Leave about 5 to 10 cm between them so you can get a hand around the necks comfortably.
Either side of a doorway or a window frames the opening and fills two narrow strips of wall that usually go to waste.
Staggered at different heights looks more relaxed and is often the practical answer when studs or power points will not cooperate.
Split across two rooms works too. One in the kitchen for everyday bottles, one in the dining room for the good stuff.
Measure and mark both racks before you drill a single hole. Hold each one up, pencil through the mounting points, step back and check with a spirit level. Five extra minutes at this stage saves a wall full of spare holes.
Assembly, honestly
The components are numbered and the installation guide and tools come in the box, so the assembly itself is not difficult. Most people do both racks in an afternoon.
What takes the time is the mounting, not the building. Budget your effort accordingly. Clear the floor below, lay out the parts, build both racks fully before you touch the wall, then do the wall work with the finished racks in hand so you can hold them up and check the position for real.
Load bottles from the bottom tier up. It keeps the centre of gravity low while you work and lets you feel whether anything is shifting before the rack is full.
Looking after it
Care is undemanding. Wipe the metal with a damp cloth, then dry it with a soft cloth. Avoid abrasive pads and strong cleaning chemicals, which can mark the painted finish over time.
Deal with drips straight away. Wine that dries on metal leaves a sticky film that attracts dust.
Give the fixings a check every few months. Just press each rack firmly and feel for movement, and put a screwdriver on anything that has worked loose. Walls move slightly with the seasons and a thirty second check is cheap insurance.
If you use the racks in a bathroom or laundry for towels instead, keep the room ventilated. Painted metal in permanently damp air is asking for trouble over the long run, and no corrosion rating is given for this product.
The short version
This is a two-pack metal wall wine rack set holding sixteen bottles, eight per rack, across frames 71.7 cm tall and only 10.3 cm deep. The joints are welded, the parts are numbered, and the installation guide and tools are in the box.
It suits small homes, people who buy wine by the case, and anyone who would rather look at their bottles than dig them out of a cupboard. Mount it into studs or with proper anchors, keep the fixings tight, and wipe it over now and then.
Measure your wall first. Then put the box of bottles away for good.