
The complete guide
How to Choose a Wall Wine Rack with Glass Holder
The problem with storing wine on the worktop
Wine takes up more room than it should. A case bought on special ends up in three places at once, a few bottles on the worktop, a few in the pantry crowding the tinned food, and two lying under the sink because there was nowhere else. Glasses are worse. They live in a high cupboard, they collect dust in the bowl, and you only get them down when guests arrive.
A wall mounted wine rack fixes both problems by using the one surface nobody competes for. Wall space is almost always free. Moving bottles and stemware up there clears your worktop, frees a cupboard shelf, and puts everything where you can see it. There is a side benefit too. When you can see your bottles, you drink them in a sensible order instead of forgetting the good one behind a stack of cans.
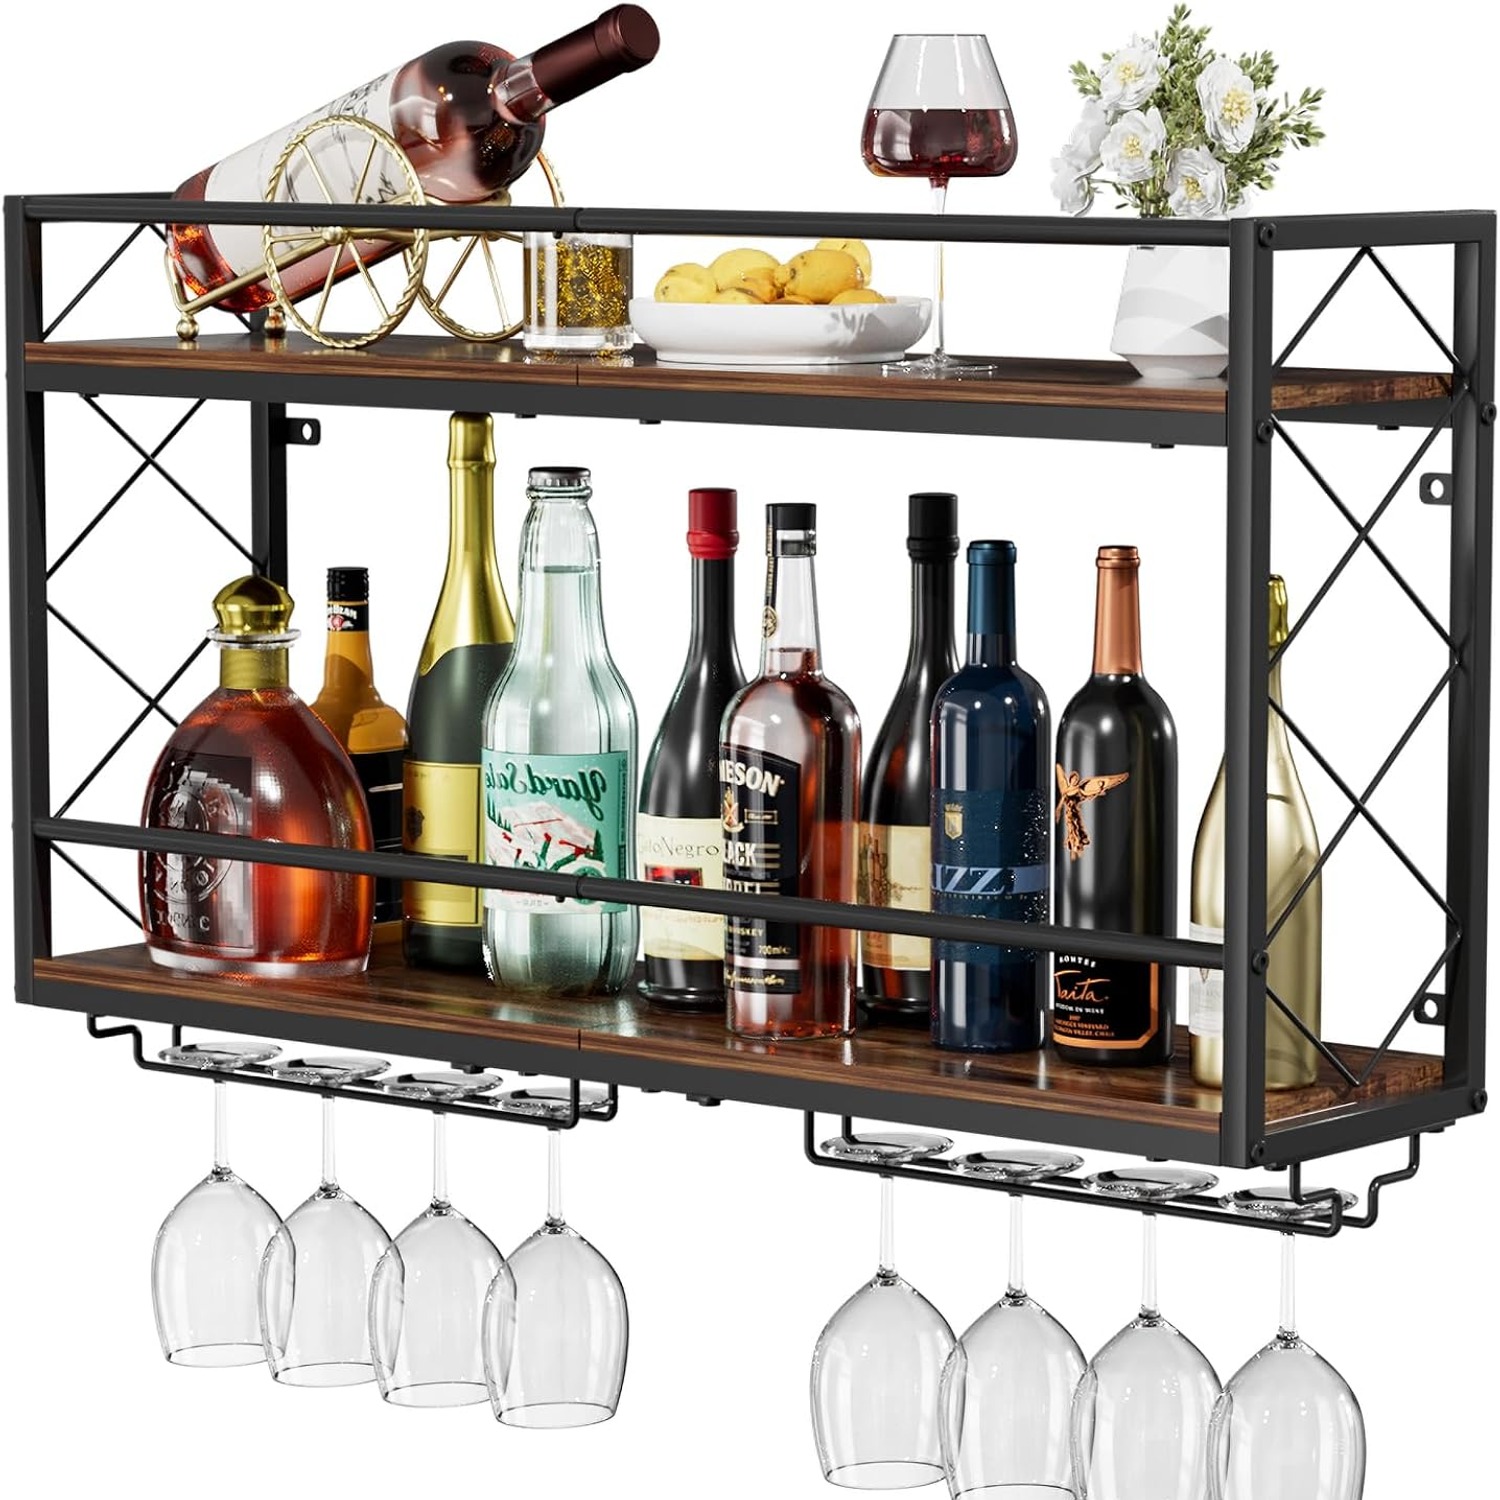
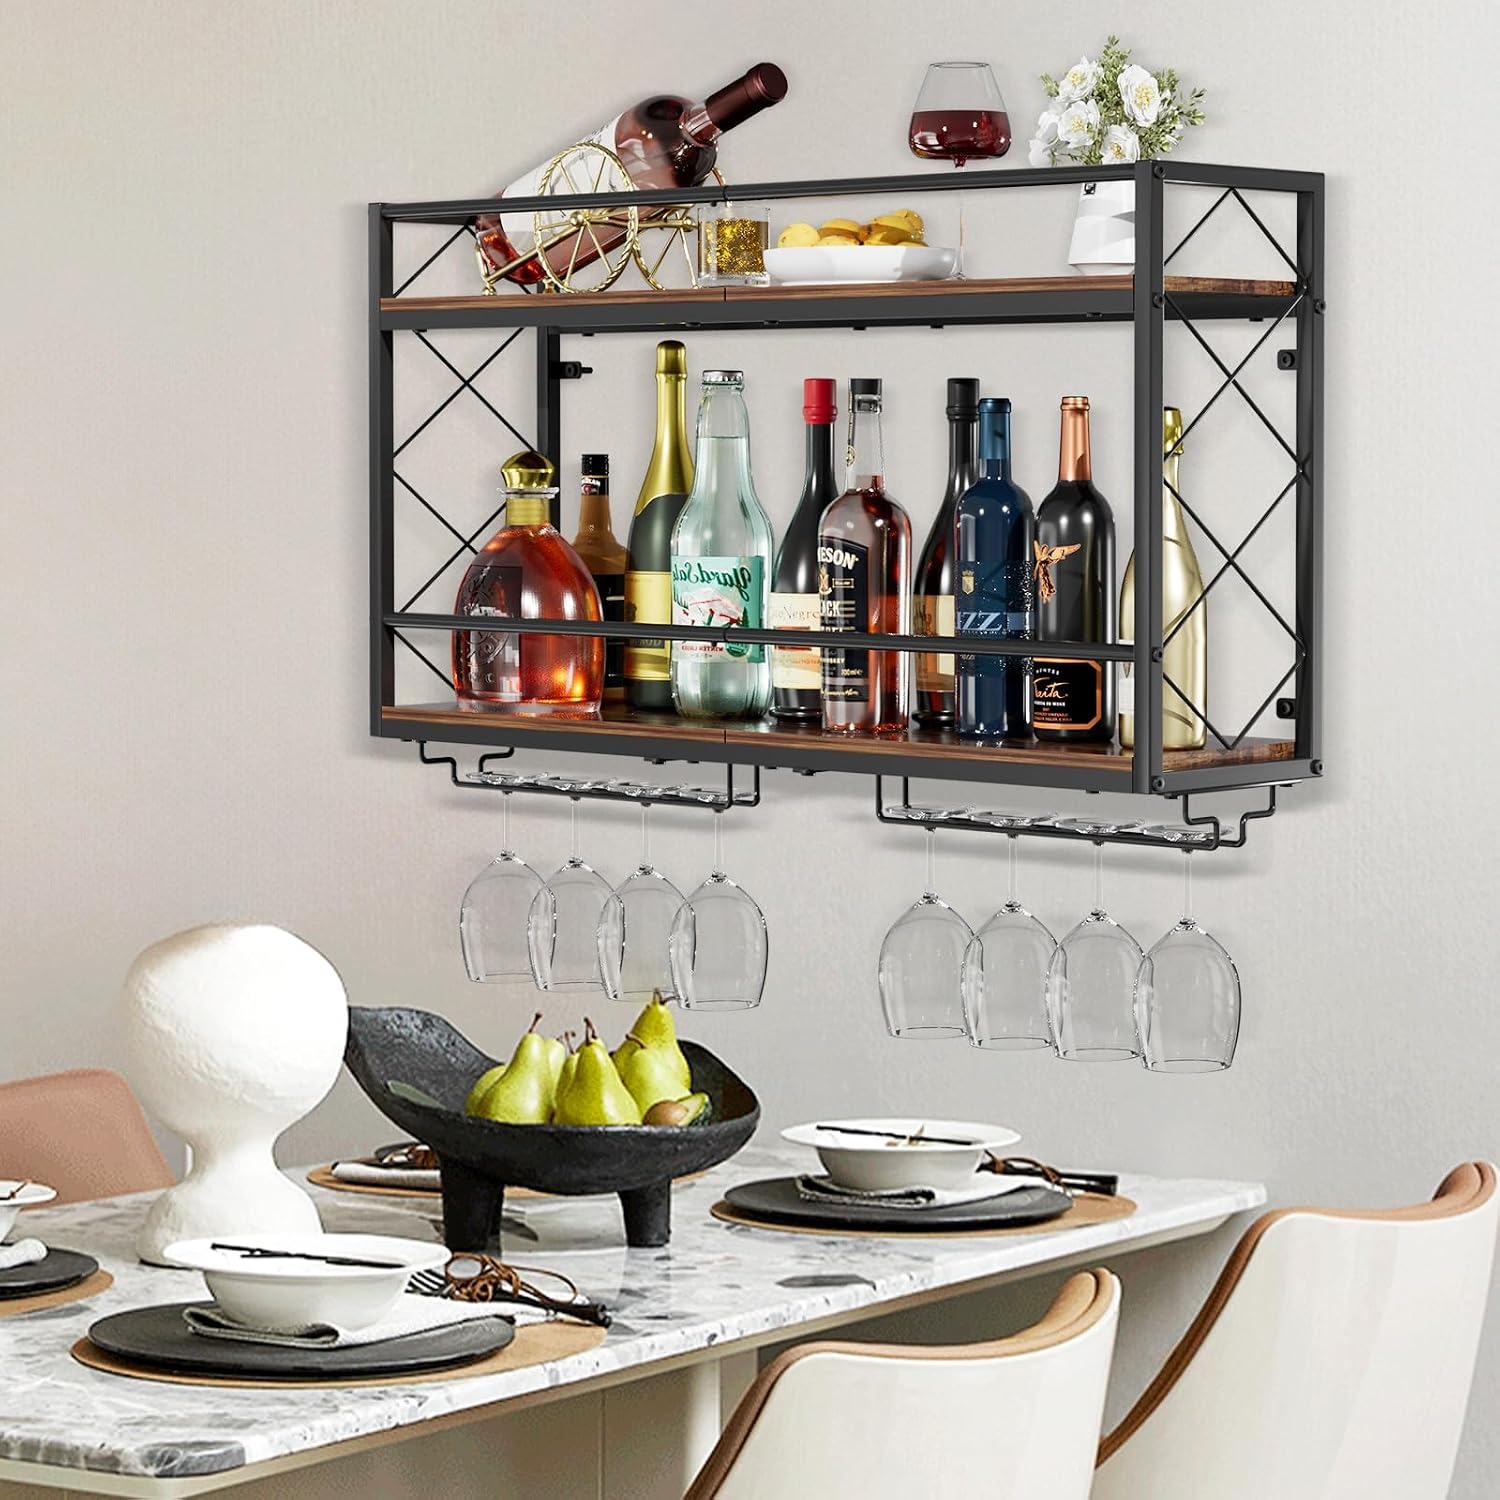
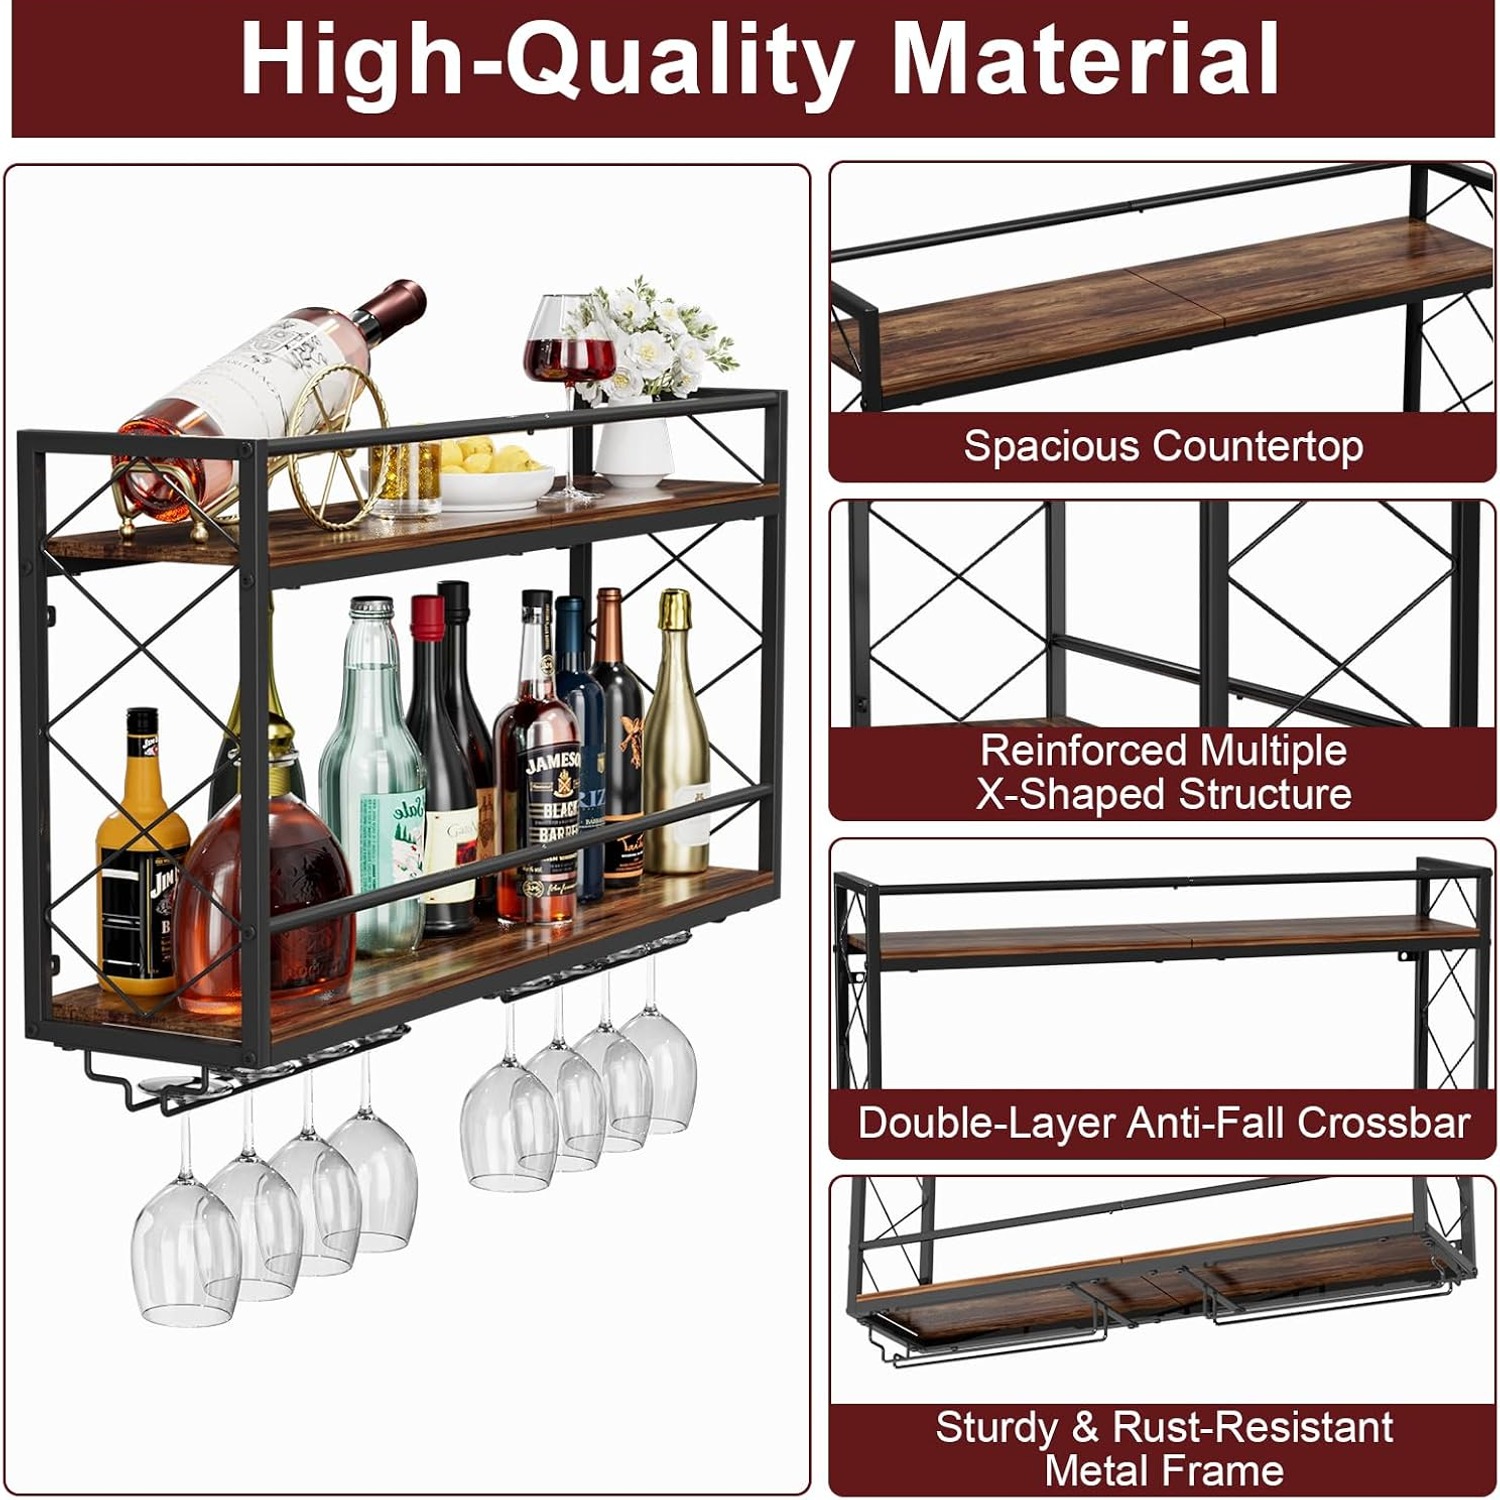
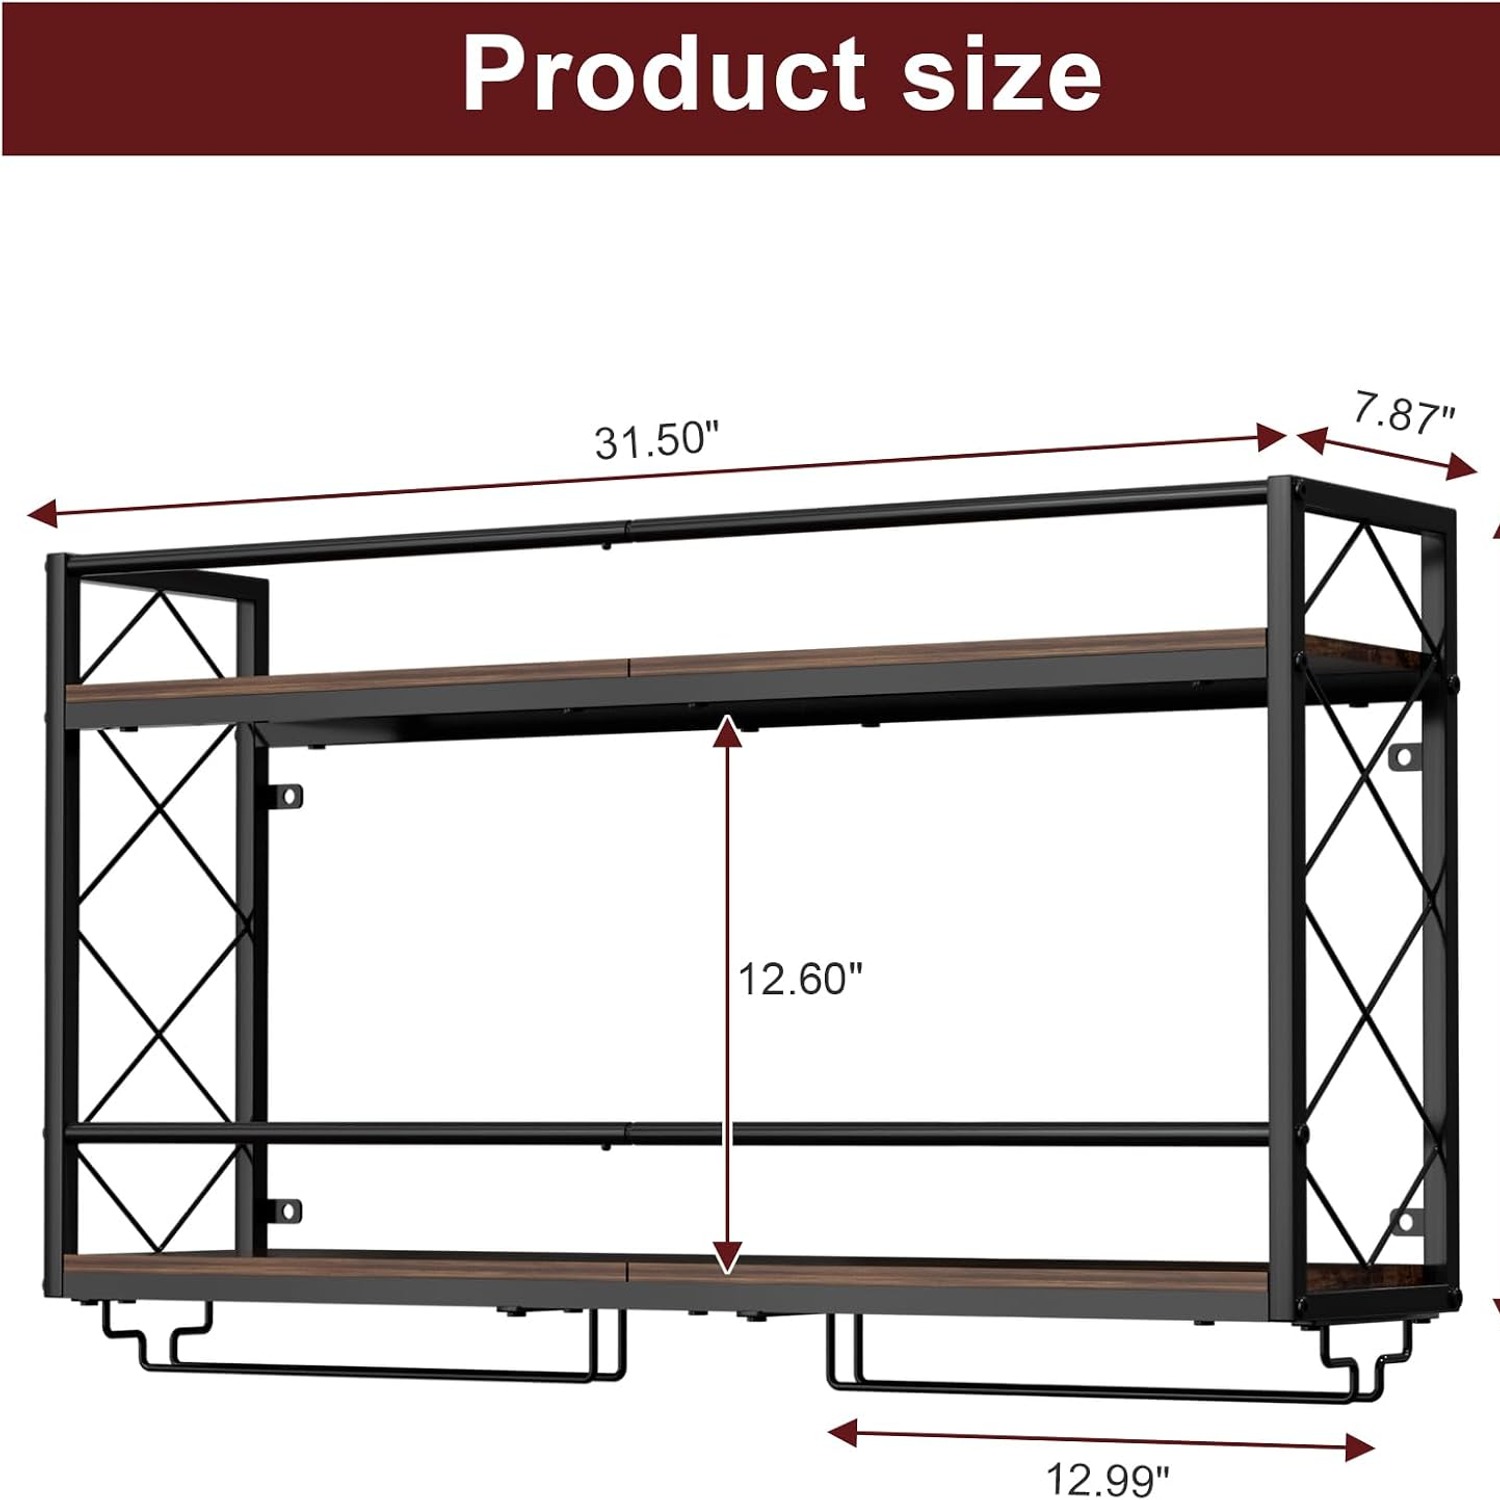
This particular rack holds up to 12 bottles across two engineered wood shelves, with metal rails underneath for hanging wine glasses by the base. It is roughly 80.5 cm wide, 49 cm deep and 20 cm high, finished in brown with a vintage look.
How a wall rack with a glass holder works
The design is simple on purpose. Two horizontal shelves carry the bottles, held in a metal frame that fixes to the wall. Below the lower shelf, parallel metal rails run the width of the unit. You slide a wine glass base between two rails, and the foot of the glass sits on top while the stem and bowl hang below.
That upside down position is the clever part. Dust settles on the outside of the bowl, not inside where your wine goes. Glasses also stop clinking against each other the way they do in a cupboard, because each one hangs in its own bit of air. And because the glass is hanging directly under the bottles, you are not walking to another part of the kitchen to pour.
The rack itself is metal and engineered wood, which is a common combination for this type of fixture. Metal provides the structure and the thin rails, while the wood gives the shelves a warmer surface and a bit of visual weight. At 4.54 kg empty, it is light to hold up while you mark your drill holes. Loaded, it is a different story, which is why the mounting matters.
Who it suits
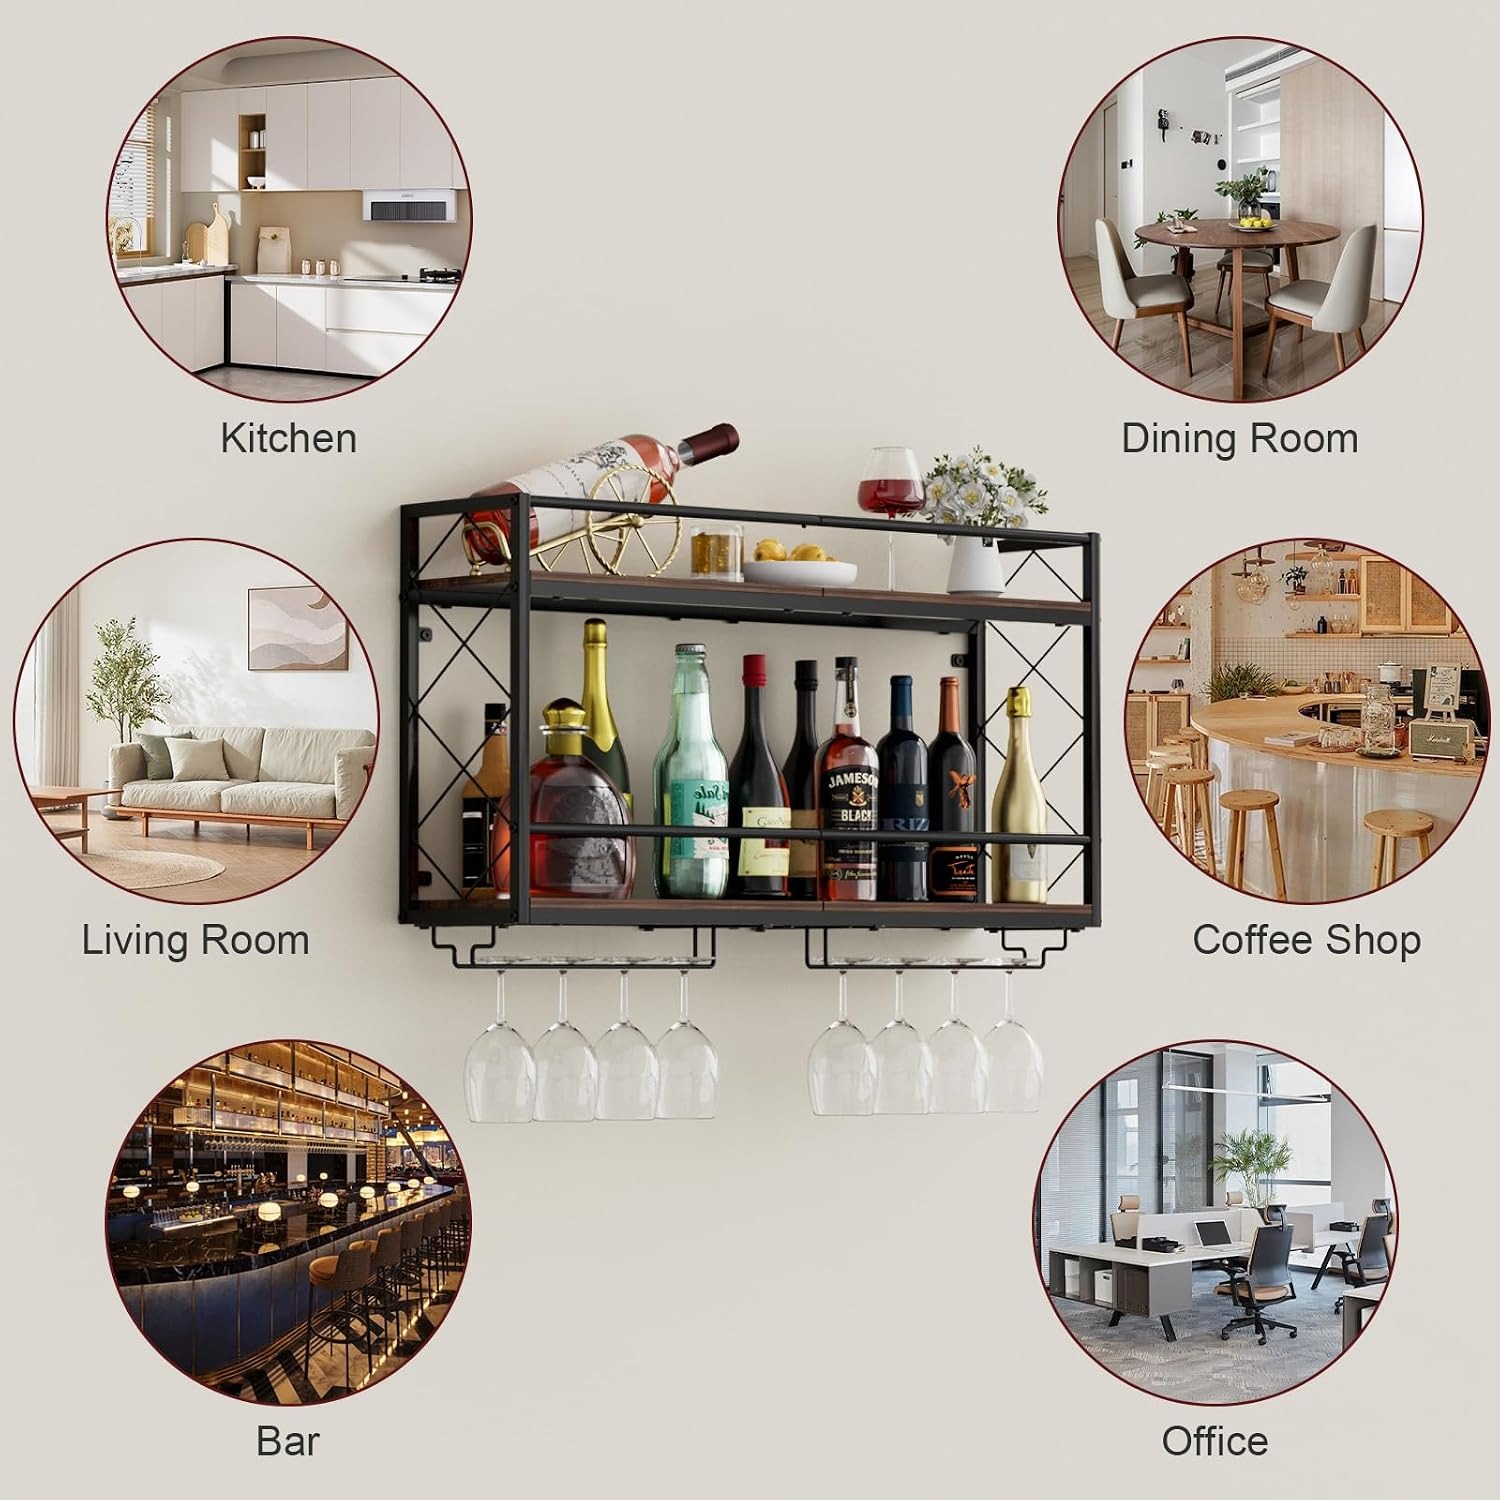
Apartment dwellers get the most out of a rack like this. When your kitchen is three metres long and the worktop is also your prep space, your desk and your dumping ground, anything you can move vertically is a win. Wine storage for small spaces is really just a question of finding the wall nobody is using.
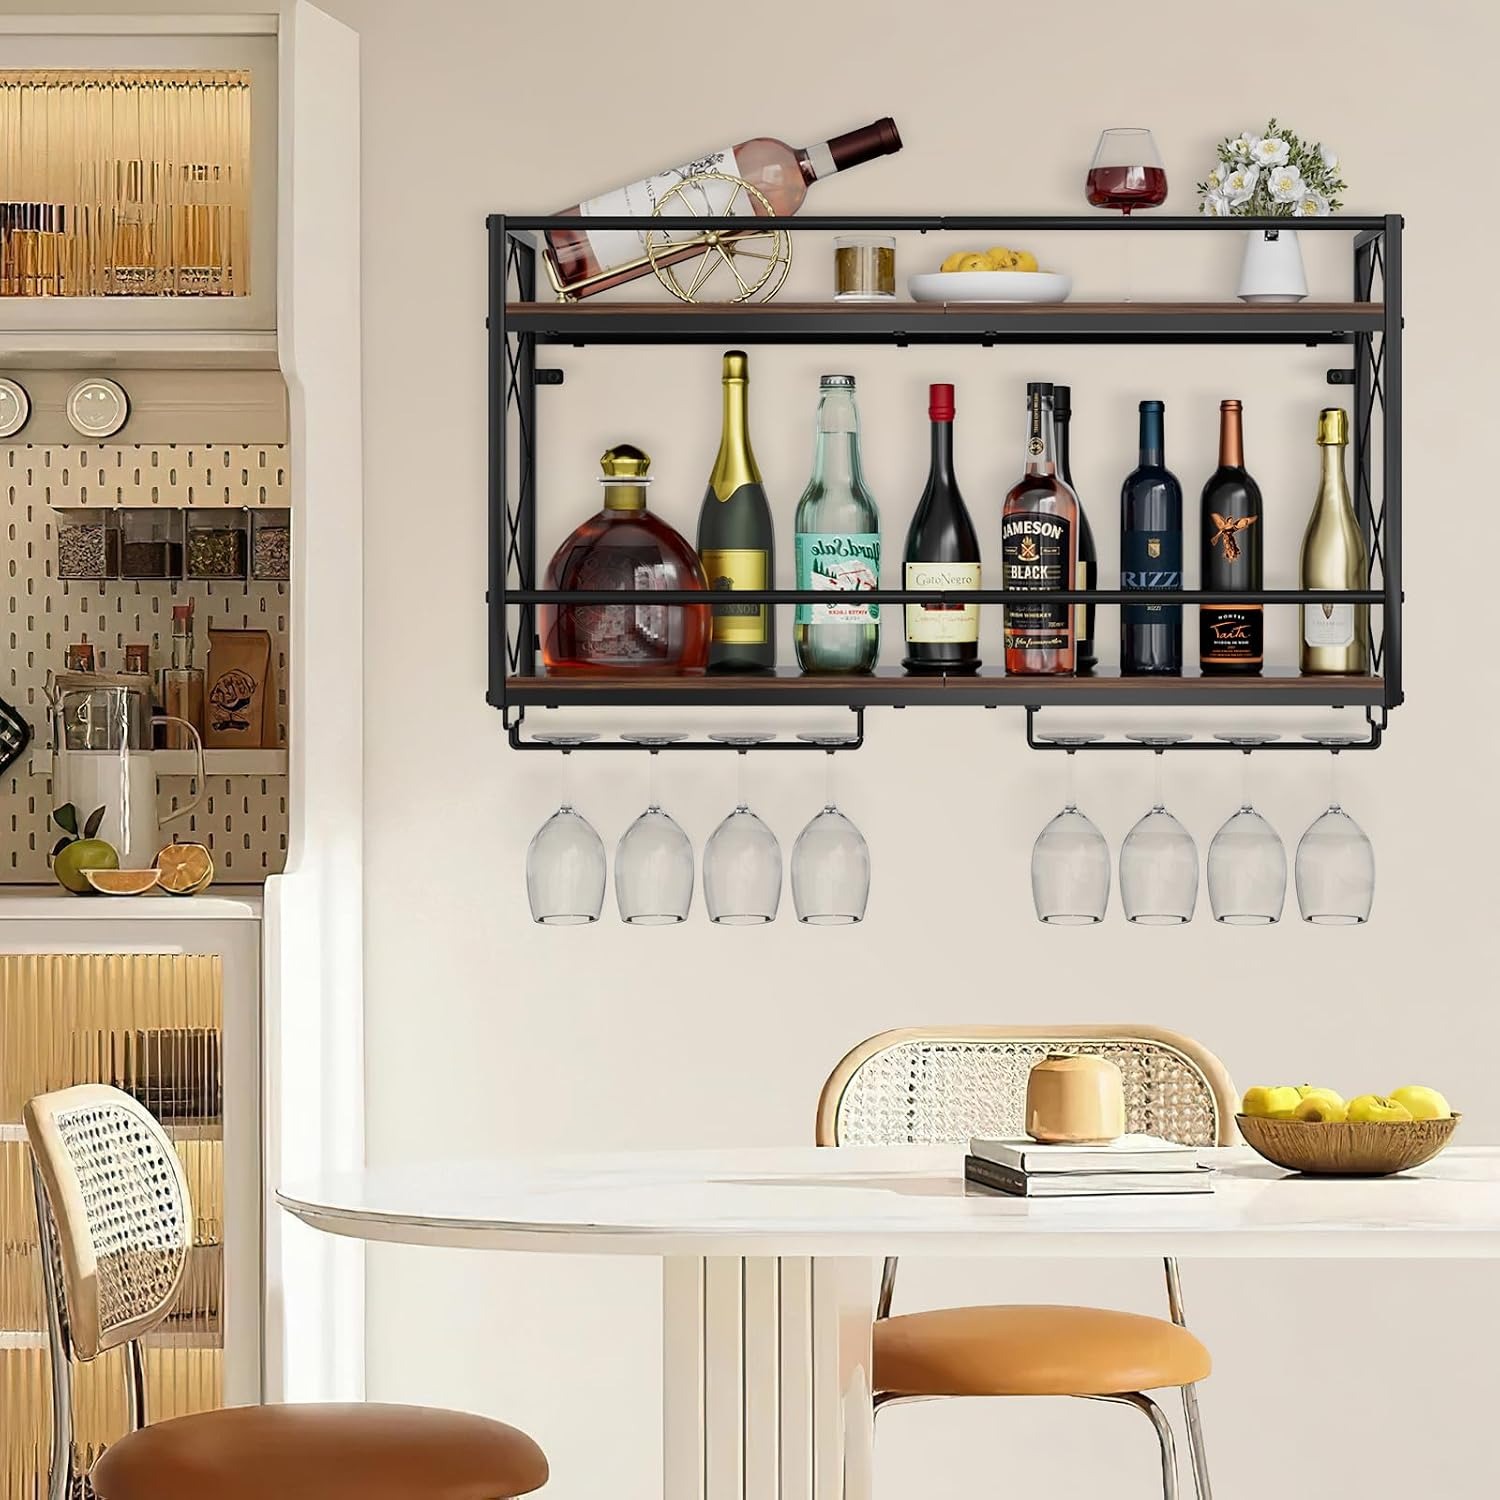
It also works well for anyone building a home bar corner. Put the rack above a sideboard or a narrow console, and you have bottles, glasses and a pouring surface stacked in less than a square metre of floor. Add a lamp and it reads as a deliberate feature rather than storage.
Renters should think about the fixing holes first. Four or six holes in plasterboard are easy enough to patch, but check your lease and your landlord's attitude before you drill. If you move often, note the hole positions so you can reuse the same template on the next wall.
Cafes, small bars and restaurants use this style too. The combination of bottle display and stemware rack suits a back-of-bar wall. For commercial use, follow your local fixture rules and over-engineer the fixings, because a busy service area means more knocks.
How to choose and where to put it
Start with the wall, not the rack. Measure the clear span you have, then subtract a bit so the unit is not jammed against a corner or a door frame. For this rack you need around 80.5 cm of clear width plus breathing room either side. The 49 cm depth figure covers the rack and the hanging glasses, so make sure nothing projects into a walkway where someone will clip it with a shoulder.
Next, work out what the wall is made of. Brick, concrete or a timber stud gives you a solid anchor point. Plain plasterboard needs heavy-duty fixings, because a loaded 12 bottle wine rack is carrying real weight once you add the glasses. If you can catch at least one stud, do it. A stud finder costs very little and saves a lot of grief.
Height comes next. Eye level is the usual sweet spot, since you can read labels, lift bottles without stretching, and slide glasses out cleanly. If the rack is going above a worktop, leave enough clearance to pull a glass down without tapping the splashback. Hold the unit up, mark the position in pencil, step back, and check it looks right before you commit.
Finally, think about what else lives on the shelves. The listing mentions bottles, champagne, potted plants and decorative pieces, and in practice most people mix them. A trailing plant at one end softens a rack full of dark bottles. Just keep the load spread rather than stacking everything heavy at one side.
Assembly without the frustration
Assembly is required and the instructions come in the box. Lay the parts out on a towel or a sheet of cardboard so the painted finish does not get scratched on a hard floor. Match the parts to the diagram before you start, which takes a minute and saves undoing steps later.
Build the rack on the ground first, hand-tightening the screws so you can still adjust alignment. Once everything is square, go back and tighten properly. Then mark your wall holes using a level, not your eye. A 1 cm error over 80 cm is very noticeable once bottles are sitting on it.
Drill, plug, mount the brackets, then hang the rack. Load the lower shelf first and work up, and leave it empty of glasses until you have confirmed everything is tight. If something feels like it is flexing, stop and re-check the fixings rather than hoping it settles.
Looking after it
Care is undemanding. Wipe the shelves and frame with a soft, dry or lightly damp cloth, then dry it straight away. Engineered wood does not enjoy standing water, so avoid soaking the surface or spraying cleaner directly onto it. Abrasive pads and strong solvents can mark the painted metal, so stick to mild cleaning.
Give the fixings a check every few months and after the first full load. Screws loosen over time, especially when the rack gets bumped. A quick turn with a screwdriver keeps everything solid.
One more small habit. Rinse a hanging glass before you pour, even though the upside down position keeps the inside clean. Kitchen air carries cooking residue, and a 10 second rinse makes the first sip taste the way it should.
Avoiding the common mistakes
People trip up in the same few ways. They mount the rack over a cooktop and then wonder why the wood looks tired after a year of steam. They use the cheapest anchors in the drawer instead of fixings rated for the load. They hang it too high, so the top shelf becomes storage for bottles they never reach for. And they load one side heavily, which puts an uneven pull on the brackets.
None of this is hard to avoid. Pick a dry wall away from direct heat, buy fixings matched to your wall type, set the height so the top shelf is still comfortable, and spread the weight evenly.
The short version
This is a wall wine rack with glass holder that takes a case of wine and a set of stemware off your worktop and puts them on the wall. Twelve bottles across two engineered wood shelves, metal rails underneath for glasses, brown vintage finish, roughly 80.5 cm wide and 49 cm deep. It weighs 4.54 kg empty and arrives flat with instructions included.
Measure your wall, check what is behind the plasterboard, buy the right fixings, mount it at eye level, and spread the load. Do those five things and you get a piece that looks good, works hard, and gives you a kitchen worktop back.